-
Start Microsoft Word.
-
From the File menu, click New, and then click the FoodPro tab.
-
Double - click the Menu Wizard icon. The FoodPro Menu Wizard program appears as well as the Microsoft Office Assistant guiding you through the features of the program. The Office Assistant is enabled and/or disabled by clicking the question mark icon. FoodPro has tailored the Office Assistant information within this program to include details for the Menu Wizard.
-
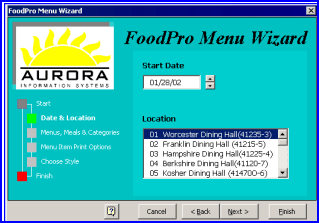
Click Next to continue. The Menu Wizard will prompt for starting date and location. Enter the first day of the seven day period to appear on the menu.
-
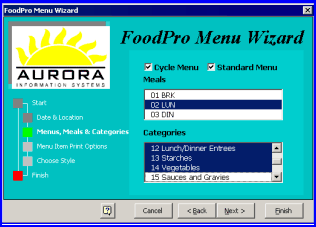
Click Next to continue. The Menu Wizard will prompt for Cycle or Standard Menu, Meals and Menu Categories. This option determines how much information will appear on your final document. Note that if you are not savvy at Microsoft Word Tables, you may want to choose the minimum of information to appear in a cell per meal, in other words, print the Meal Categories that make the most sense for the audience using the final report.
-
Click Next to continue. The Menu Wizard will prompt for Menu Print Options that are defined in the Global Recipe program. Price, Color, Special Characters, Recipe Number, Menu Numbers, Menu Categories, and Web Codes can be printed on the final document.
-
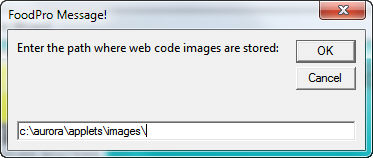
Note: In order to use Web Codes, an Images folder must be added to the Applets Folder. The Images folder must be populated with the same 16x16 picture files from the Images folder on the IIS server.

-
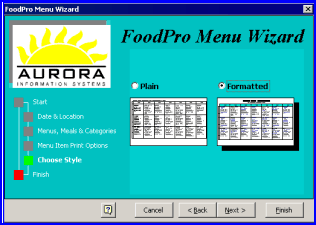
Click Next to continue. Choose the style of the output, plain or formatted.
-
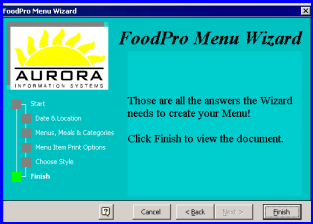
Click Finish. Menu Wizard will produce a word document that can be saved and modified at the user’s discretion.
-
Define a Web Code Image Path. If it has not been defined previously, the Menu Wizard will prompt the user to enter the path (local or network) to the image folder where the Web Codes are stored.